在桌面程序设计中,通常需要多个窗口进行切换,以及在切换过程中进行数据传递。比如我们在PC登陆微信的时候,扫描二维码是一个登陆窗口,手机上确认登陆后会跳转到另一个聊天的窗口,这个主窗口显示着我们登陆的那个账号的个人信息,这就是常见的一种窗口切换。
显示隐藏 #
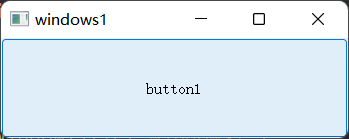
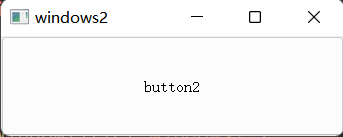
我们现在设计一个有两个窗口的的程序,当程序启动后显示windows1窗口,点击button1后显示windows窗口2,并隐藏Windows1,当点击button2后显示windows1窗口,并隐藏windows2窗口。
其中,按钮button1是windows1窗口的组件,按钮button2是windows2窗口的组件。
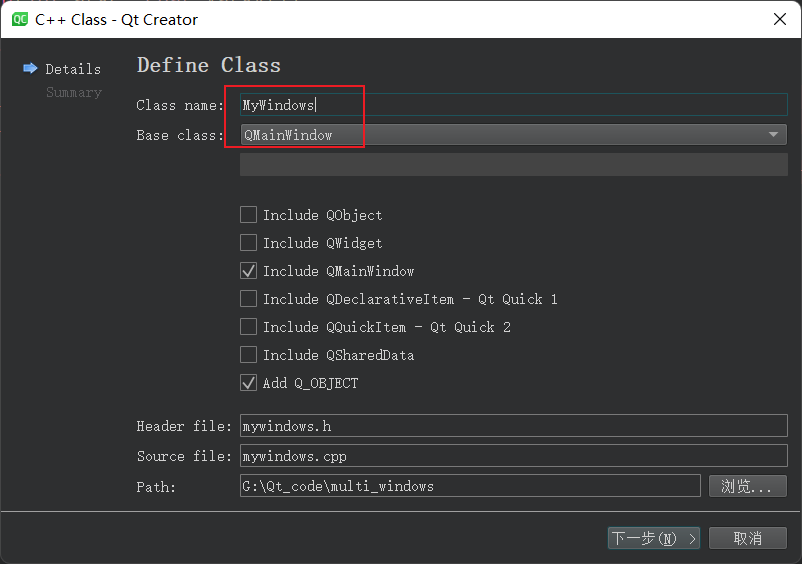
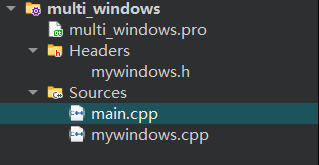
新建Qt项目,类名定以为MyWindows,完成后如下。
因为windows1和windows2窗口界面布局和功能一致,所以将它们抽象为一个MyWindows类,也就是说windows1和windows2窗口是MyWindows类的两个实例化对象。
我们在MyWindows类中定义一个按钮,并且设置为中心组件,这个Mainwindow窗口只有一个按钮,为了演示方便,我们将按钮设置为public。
show()函数可以显示窗口。
hide()函数可以隐藏窗口。
close()函数可以销毁窗口。
hide()函数相当于setVisible(false)。
mywindows.h
#ifndef MYWINDOWS_H
#define MYWINDOWS_H

#include <QMainWindow>
#include <QPushButton>

class MyWindows : public QMainWindow
{
    Q_OBJECT
public:
    explicit MyWindows(QWidget *parent = nullptr);
    QPushButton button;
signals:

};

#endif // MYWINDOWS_H
mywindows.cpp
#include "mywindows.h"
MyWindows::MyWindows(QWidget *parent) : QMainWindow(parent){    this->setCentralWidget(&button);}
我们需要在main.cpp的主函数中,实例化两个对象,分别设置窗口和按钮的标题,以方便区分。
当第一个窗口按钮点击时,需要隐藏当前窗口,并且显示第二个窗口。
当第二个窗口按钮点击时,需要隐藏当前窗口,并且显示第一个窗口。
我们将对应的信号和槽函数绑定后,就可以实现窗口的切换。
main.cpp
#include <QApplication>
#include<QObject>

int main(int argc, char *argv[])
{
    QApplication a(argc, argv);

    MyWindows *win1 = new MyWindows();
    MyWindows *win2 = new MyWindows();

    win1->setWindowTitle("windows1");
    win2->setWindowTitle("windows2");

    win1->button.setText("button1");
    win2->button.setText("button2");

    QObject::connect(&win1->button, &QPushButton::clicked, win2, &MyWindows::show);
    QObject::connect(&win1->button, &QPushButton::clicked, win1, &MyWindows::hide);
    QObject::connect(&win2->button, &QPushButton::clicked, win1, &MyWindows::show);
    QObject::connect(&win2->button, &QPushButton::clicked, win2, &MyWindows::hide);

    win1->show();
    return a.exec();
}
结果演示。
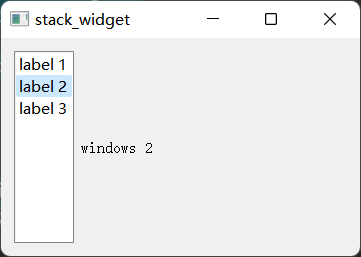
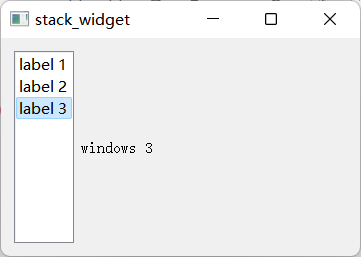
堆栈窗口 #
QStackedWidget类提供了一个窗口的容器,但当前只能显示一个窗口。
我们新建项目时候,基类选择QWidget,且不生成ui文件。

在Widget类中添加一个QListWidget和QStackWidget类的对象为成员,实现点击list来切换显示stack中不同的widget。
widget.h
#ifndef WIDGET_H
#define WIDGET_H

#include <QWidget>
#include <QListWidget>
#include <QStackedWidget>
#include <QLabel>

class Widget : public QWidget
{
    Q_OBJECT

public:
    Widget(QWidget *parent = nullptr);
    ~Widget();

private:
    QListWidget *m_lw = nullptr;
    QStackedWidget *m_sw = nullptr;
};
#endif // WIDGET_H
widget.cpp
#include "widget.h"
#include <QHBoxLayout>

Widget::Widget(QWidget *parent)
    : QWidget(parent)
{
    m_lw = new QListWidget();
    m_lw->setMaximumWidth(60);
    m_lw->addItem("label 1");
    m_lw->addItem("label 2");
    m_lw->addItem("label 3");

    m_sw = new QStackedWidget();
    m_sw->addWidget(new QLabel("windows 1"));
    m_sw->addWidget(new QLabel("windows 2"));
    m_sw->addWidget(new QLabel("windows 3"));

    connect(m_lw, &QListWidget::currentRowChanged,
            m_sw, &QStackedWidget::setCurrentIndex);

    QHBoxLayout *layout = new QHBoxLayout();
    layout->addWidget(m_lw);
    layout->addWidget(m_sw);

    this->setLayout(layout);
}

Widget::~Widget()
{
}
结果演示。
对话框 #
对话框是用来和主窗口交互的窗口,可以接受返回值。Qt自带对话框类有:QColorDialog, QErrorMessage, QFileDialog, QFontDialog, QInputDialog, QMessageBox, QProgressDialog, 和QWizard 。
文件对话框 #
QFileDialog 类提供了一个对话框可以使用户从本地目录选取文件。常用于打开,保存文件是选择本地文件。
代码示例。
 fileName = QFileDialog::getOpenFileName(this,
     tr("Open Image"), "/home/jana", tr("Image Files (*.png *.jpg *.bmp)"));
// "Images (*.png *.xpm *.jpg);;Text files (*.txt);;XML files (*.xml)"
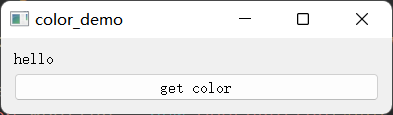
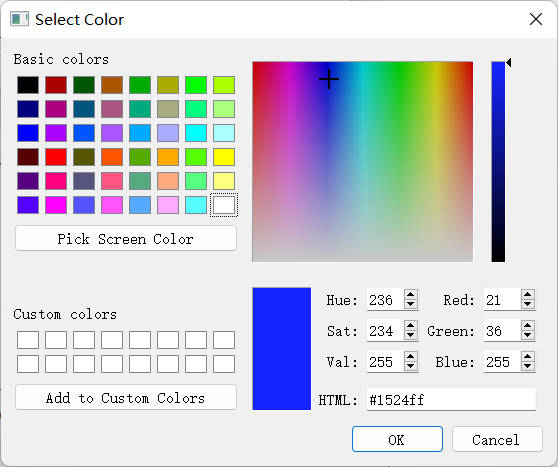
颜色对框框 #
QColorDialog 类提供一个可供用户选择颜色的对框框。
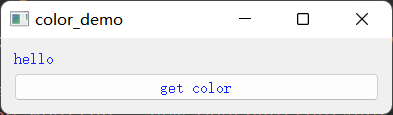
接下来写个程序验证,在UI上布局一个Label和PushButton,当用户点击按钮时弹出颜色选择对话框,完成后将选择的颜色设置为Label和PushButton的文字颜色。
代码示例。
#include "widget.h"
#include <QVBoxLayout>
#include <QLabel>
#include <QColorDialog>
#include <QPushButton>
#include <QDebug>

widget::widget(QWidget *parent) : QWidget(parent)
{
    QLabel *label = new QLabel("hello");
    QPushButton *button = new QPushButton("get color");
    QVBoxLayout *layout = new QVBoxLayout();

    layout->addWidget(label);
    layout->addWidget(button);
    this->setLayout(layout);
    QColorDialog *dialog = new QColorDialog();

    connect(button, &QPushButton::clicked, [=](){
        QColor color = dialog->getColor();
        qDebug()<<color;
        QPalette ple;
        ple.setColor(QPalette::WindowText, color);
        label->setPalette(ple);

        ple.setColor(QPalette::ButtonText, color);
        button->setPalette(ple);
    });
}
运行结果。
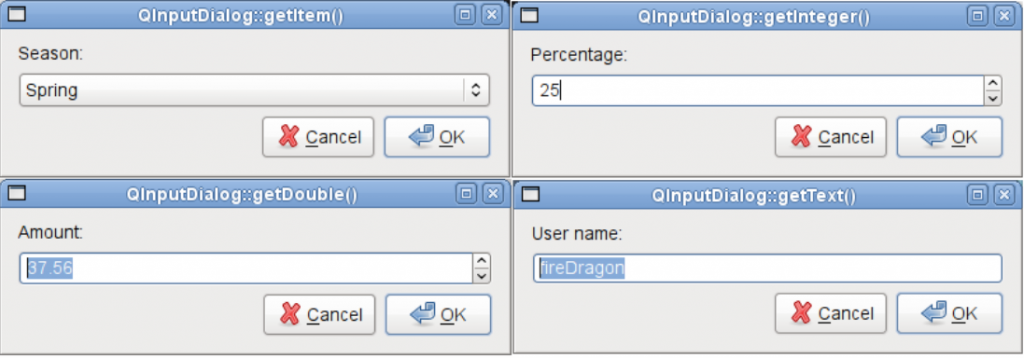
输入对框框 #
QInputDialog 类可以弹出对话框获取用户输出的单个值。
获取单个值类型可以为double,int,string。
核心代码。
     bool ok;
     QString text = QInputDialog::getText(this, tr("QInputDialog::getText()"),
                                          tr("User name:"), QLineEdit::Normal,
                                          QDir::home().dirName(), &ok);
     if (ok && !text.isEmpty())
         textLabel->setText(text);
     bool ok;
     double d = QInputDialog::getDouble(this, tr("QInputDialog::getDouble()"),
                                        tr("Amount:"), 37.56, -10000, 10000, 2, &ok);
     if (ok)
         doubleLabel->setText(QString("$%1").arg(d));
     bool ok;
     int i = QInputDialog::getInt(this, tr("QInputDialog::getInteger()"),
                                  tr("Percentage:"), 25, 0, 100, 1, &ok);
     if (ok)
         integerLabel->setText(tr("%1%").arg(i));
     QStringList items;
     items << tr("Spring") << tr("Summer") << tr("Fall") << tr("Winter");

     bool ok;
     QString item = QInputDialog::getItem(this, tr("QInputDialog::getItem()"),
                                          tr("Season:"), items, 0, false, &ok);
     if (ok && !item.isEmpty())
         itemLabel->setText(item);
效果演示。
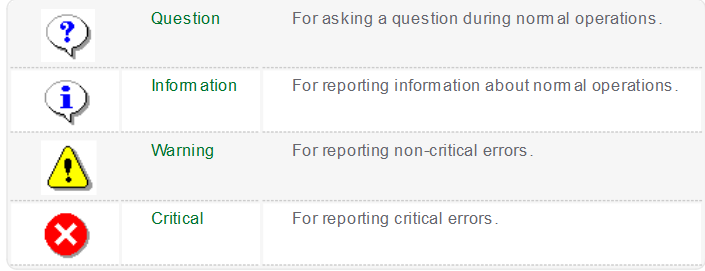
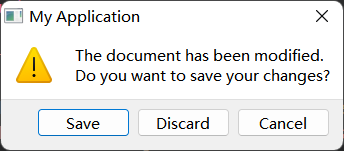
消息对话框 #
QMessageBox 类可以向用户发送提示信息,或者进行确认用户的操作。
通常使用该类的静态方法进行显示对话。
 int ret = QMessageBox::warning(this, tr("My Application"),
                                tr("The document has been modified.\n"
                                   "Do you want to save your changes?"),
                                QMessageBox::Save | QMessageBox::Discard
                                | QMessageBox::Cancel,
                                QMessageBox::Save);
效果演示。
其他常用图标如下,更多信息查看官方帮助文档。